Illustration Visual and Narrative
Week 1 - Week ?
Khansa Raudlatus Syahiidah / 0374511
Illustration and Visual Narrative
Bachelors of Design (Honours) in Creative Media
Task 1 :
Table of content :
1.
Lectures
2. Instructions
3. Process work
3.2 Final Outcome
4. Feedback
5. Reflection
6. Further Reading
1. LECTURES
Lecture week 1 :
During our week 1, Mr. Hafiz informed us that class will only start by
the week after this and were only given the materials and tasks
announcements we could look through before our actual class. Not only
that, we were also told to submit our E-learning portfolio and the google
classroom links we will be using to submit our works.
Lecture week 2 :
In our first face to face meeting, at week 2, Mr. Hafiz briefed us on our
vormator challenge, blogspot, percentage for grading in all our classwork, and
also made us practice the pen tool by playing the Bezier game.
In this pen tool game, we learn on how to make shapes that are not only straight but also on curvy parts. For example, between two straight lines, all we have to do is just to click on the first dot to the other, while on curvy shapes, we have to click on the first dot towards your second dot while pressing it to your desired curve. After that, click Alt to bring back your cursor back to its shape and continue to the next line.
Next on what Mr. Hafiz taught us was on how to trace our given vormator shape
and filling it in before starting to make our character.
In this exercise, we applied what we learned from the Bezier game to create the shape shown above and also filling in so we could get started with our characters made by only the limited palette of shapes.
Week 3 :
After 2 weeks since our vormator assignment were given, we had a feedback
session with Mr. Hafiz, and also a quick tutorial on how to use the pathfinder.
3. PROCESS WORK
3.1 Research and Ideation
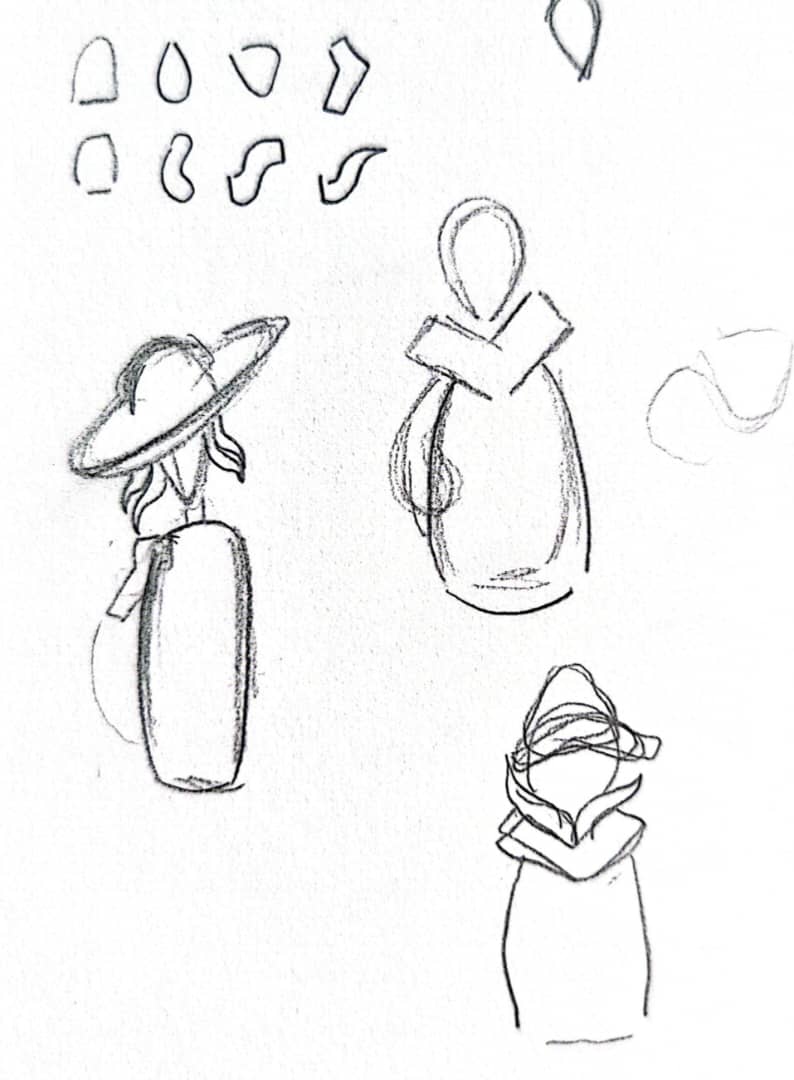
From the sketch shown above, I started off my
character with the thought of making it like a mysterious woman or perhaps a
clown on the side. During class later that day, I decided that my creation was
too simple so I thought of creating a new one. I did continued to have it stay
as a person, although, seeing how majority of the cartoon I imagined was in
the shape of an animal, I tried to go along with that idea.
In the beginning of my second sketch, this was
similar to my first one, the only different was on the horn angle. After looking at it
for some times, I did not like how it looked so much like a mythology creature
to me. After trying to replace it with other shape, it eventually lead me to an unexpected
animal looking character. Instead of a horn, it looked more like an ear.
I started adding random colors during the
process in order not to confuse myself later on. However, after I reached a
better drawing of the head, I started to like the combination of the blue
and pink.
As I finished its head, I was struggling on how the body should look like especially the hand. I got the final idea of how the body and leg should look like but was still confused on what action should it be doing with its hand. But as you can see from the character reference I took from Pinterest, one hand by the hip and the other waving, I thought that it would fit perfectly with my character. I used the hand gesture from the reference I took and added a hoof from zebras.
It was tricky finding the right 3 colors for my character silhouette, especially since it is suppose to have 2 colors on its face, but I finally managed to fill it in 3 colors. As I first said that my random color option was really interesting, it was really tricky to use them as an only 3 color throughout my whole character's body. The end result with using the blue and pink color did not turn out as I planned, in fact, it looked pretty creepy. So, I played around again and came up with the grey and black but it was too basic. Thereupon, I used the help of color hunt and explored around with its combination on my character after finally coming to a conclusion.
3.2 Final Outcome

 After I was done creating my characters and the choice of color for its body, I tried to apply the pathfinder in creating details such as the Zebra strips colored in a saturated color.
 Creating a character with limited shapes, allowed us to explore our own creativity on how to accomplish our desired design with shapes that are already provided. Not only that, using the vormator shapes, also helped a lot towards my understanding of the Adobe tools, for example, how to rotate and reflect shapes, ungroups shapes, saturating colors, and creating patterns within the shape.


Comments
Post a Comment