Task 3: Illustrated Typography Poster
Week 8 - Week 10
Khansa Raudlatus Syahiidah / 0374511
Illustration and Visual Narrative
Bachelors of Design (Honours) in Creative Media
Task 3 : Illustrated Typography Poster
TABLE OF CONTENTS :
1. Lectures
2. Instructions
3. Process work
3.1 Research
3.2 Ideation
3.3 Final outcome
4. Feedback
5. Reflection
1. LECTURES
Week 8 :
Our task 3 was first assigned simultaneously as our Independent learning week . We were told to find any motivational / positive quote, and also to get the acceptance from our DPI lecture before proceeding to the next step.
Week 9 :
During the first week after ILW, We continued with regular classes in the Mac lab. Mr. Hafiz showed us a little of poster examples and its fonts and typefaces. He also went around to everybody giving feedback on their work progress. Week 9 was also the last week of our design sketch submission, so that we can continue to focus on our next step the following week.
Week 10 :
For week 10, we were informed the week before that we will not be having any class. However, Mr. Hafiz continuous to accept feedback and consultation for those who have showed him their progression.
2. INSTRUCTIONS
PROJECT 2 : Illustrated Typography Poster
- Research for poster ideas and put in the given template
- Finalize motivational / positive quote and get approval from DPI lecture
- Make a sketch of the idea of your poster and get approval from IVN lecture
- Start digitizing in Adobe illustrator and photoshop
- Use Illustrator techniques and apply to fonts :
- Intertwine : Next elements to create depth and interest
- clipping mask : For texture or image fill within the text
- 3d effects : Apply depth, materials, and lighting for a dimensional look
- warping : Experiment with distortions, meshes, and top-shape warping to alter text shapes
- supporting visuals : Add minor photography or digital elements from your Digital Imaging and Photography (DPI) work to complement your typographic design. This should support, but not overpower, the typography
- Add minor photographs of object, background, etc.
3. PROCESS WORK
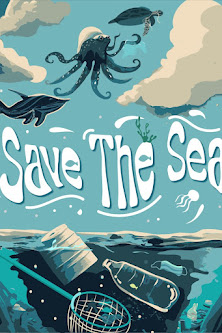
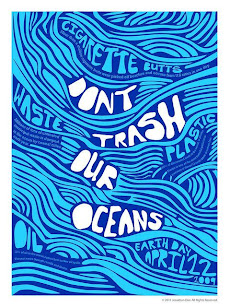
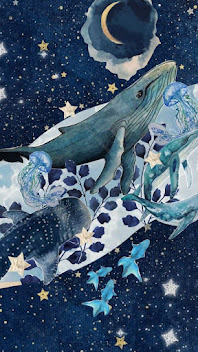
3.1 Research
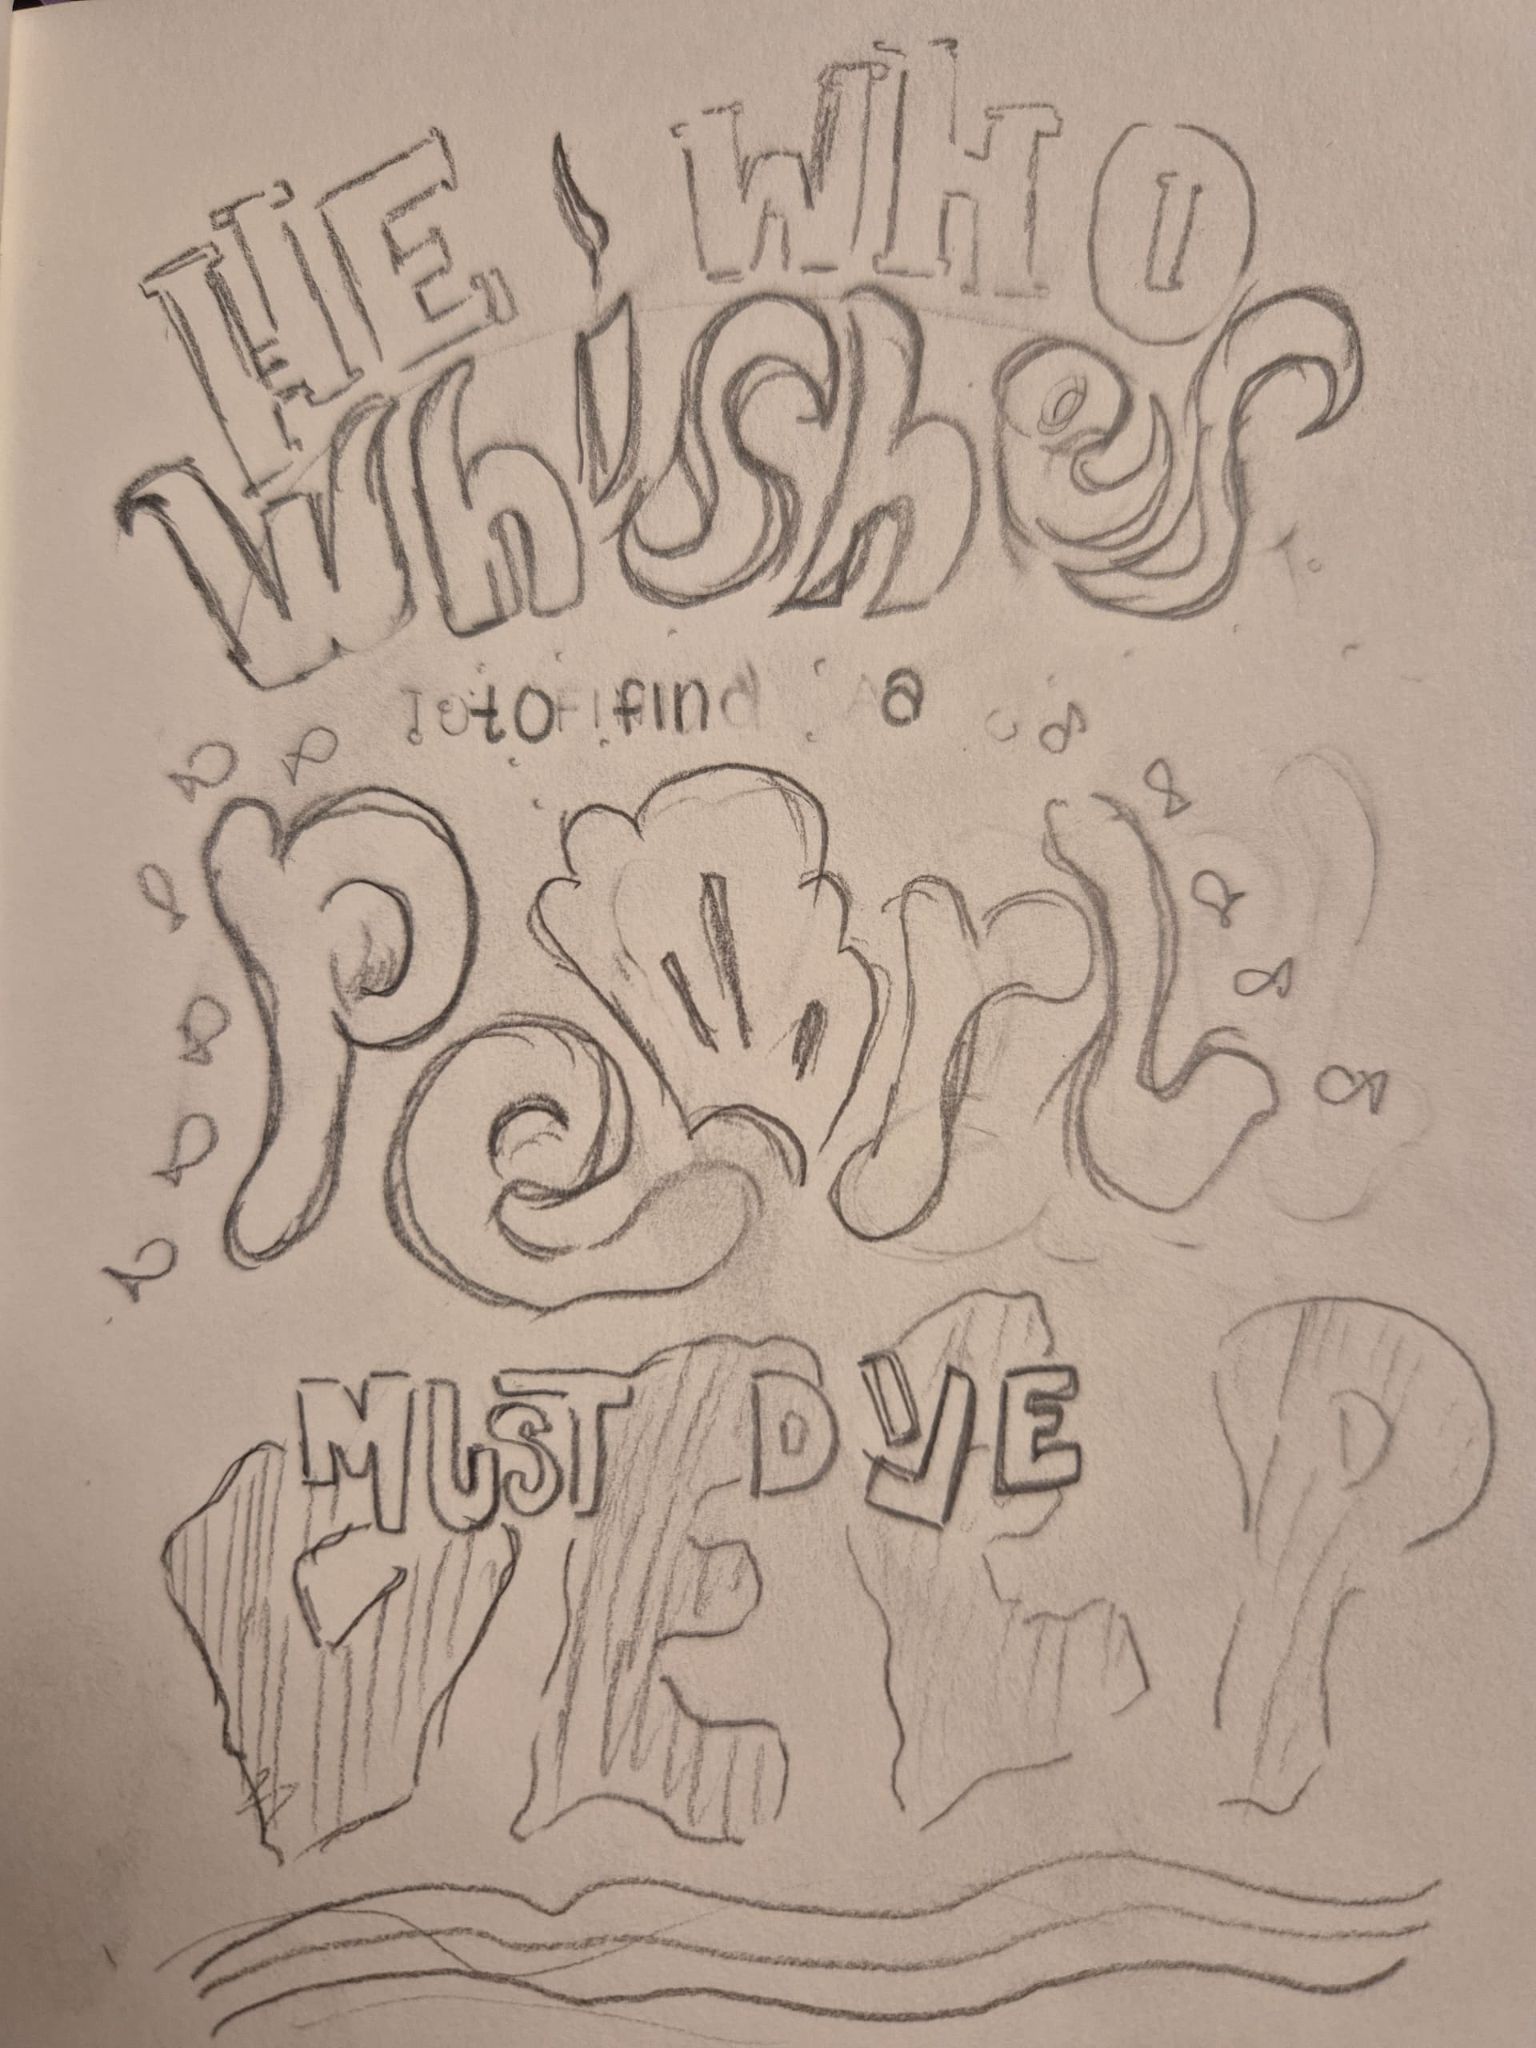
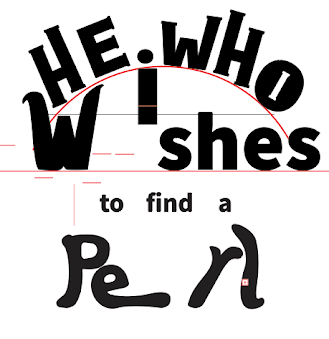
3.2 Ideation
Digitization
Intertwine :

Clipping mask :


3D effects :

Warping :


Supporting visuals :
Personal photographs


Internet pictures

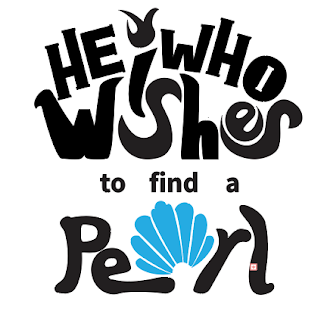
3.3 Final outcome

4. FEEDBACK
Week 8 :
General feedback : Start on new task, find motivational / positive quote ( have it accepted by Mr. Fauzi / Dpi lecture ), and start on a sketch of your design
Week 9 :
General feedback : Use minor supporting visuals and focus on the font itself using the illustrator techniques
Personal feedback
- Initial sketch : My sketch is too literal and needs to make it look more like what the word mean
- Final sketch : It was very good and would be better to ad a bit of perspective (ex. make the word "deep" actually looks deeper)
Week 10 :
General feedback : Continue with our progress work and still accept feedbacks through WhatsApp
5. REFLECTION
Experience :
Through the process of distorting / warping fonts, I was able to learn into a better understanding of tools in Illustrator. Although these task took most of the time, it was very fun digitizing the design sketch we made.
Observations :
Warping font word by word surely took a lot of time in being consistent, patience, and also the focus to small details.
Findings :
Putting together all the process of this IVN task 3 have allowed me to gain a bigger understanding to both Illustrator and Photoshop


Comments
Post a Comment